Appearance
Adding WMS layers
Overview
There are three methods to add WMS layers to a map:
- Adding a prepared WMS Layer from the Layer Library
- Adding directly to map from a prepared WMS Connection
- Adding directly to map from a temporary WMS Connection
📄 Note
Temporary WMS connections can be used to quickly view WMS layers, however it is usually preferable to prepare WMS as a permanent connection so that permissions can be configured.
Adding WMS Layers from Library
If the Dataset/Layer creation workflow was followed, WMS layers will appear in the Layer Library.
See Creating a Dataset and Creating a Layer for more information.
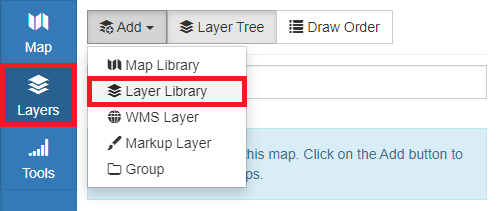
To Add a WMS Layer from Library:
- Add the WMS layer from the Layer Library
Adding WMS Layers directly to the Map
WMS Layers can be added directly to the map without needing to create a Dataset/Layer pair. This can be done with a prepared WMS connection or by creating a Temporary Connection.
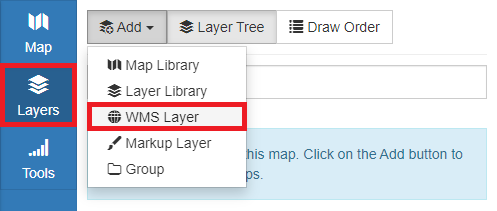
To Add a WMS Layer directly from Connection:
- Click Layers in the sidebar
- Click Add
- Click WMS Layer
- Select a WMS connection from the drop-down
- Click Connect
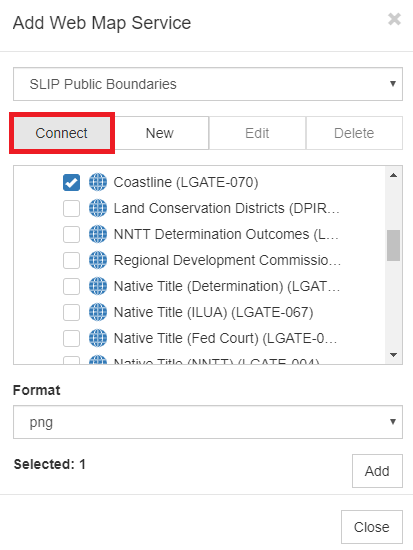
- Select a Layer
- Click Add
Creating a Temporary WMS Connection
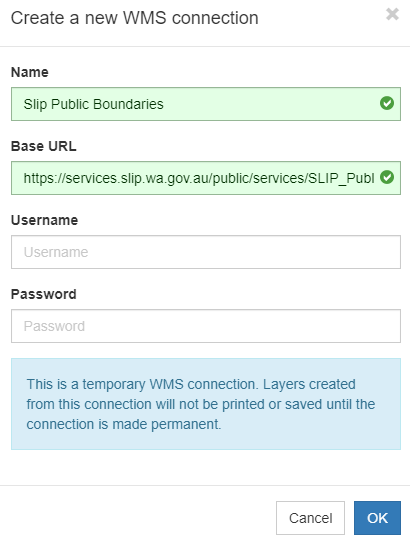
New WMS connections may be created from within the map. These connections are temporary and do not appear in the Mapworks UI Connections list until saved. Additionally, temporary layers added from these connections will not be saved to the map.
To Add a Temporary WMS Connection:
- Click Layers in the sidebar
- Click Add
- Click WMS Layer

- Click New
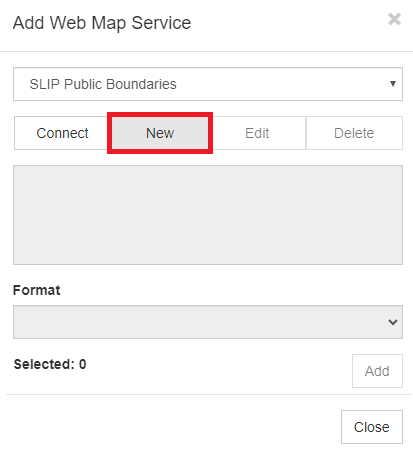
- Enter WMS Connection details
- Click OK
- Temporary WMS layers can now be added directly to the map as described above
Saving Temporary WMS Connections
Temporary WMS Connections will not be retained between sessions unless saved.
To save a temporary WMS connection:
- Right-click on a layer added from a temporary connection
- Click Save Connection