Appearance
Printing & Exporting
Overview
There are two ways to export a map:
- Print to PDF — Editable print view with customisable overlay options
- Export as Image — Export current map view as it appears
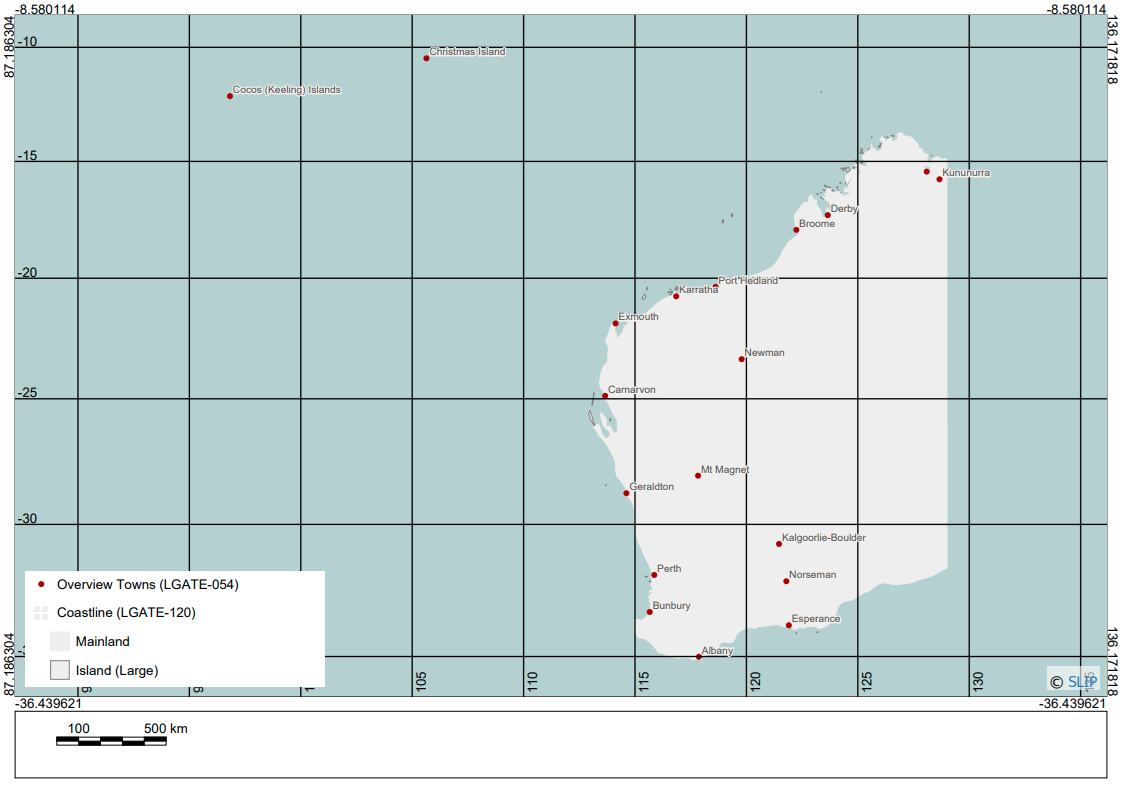
Example PDF:
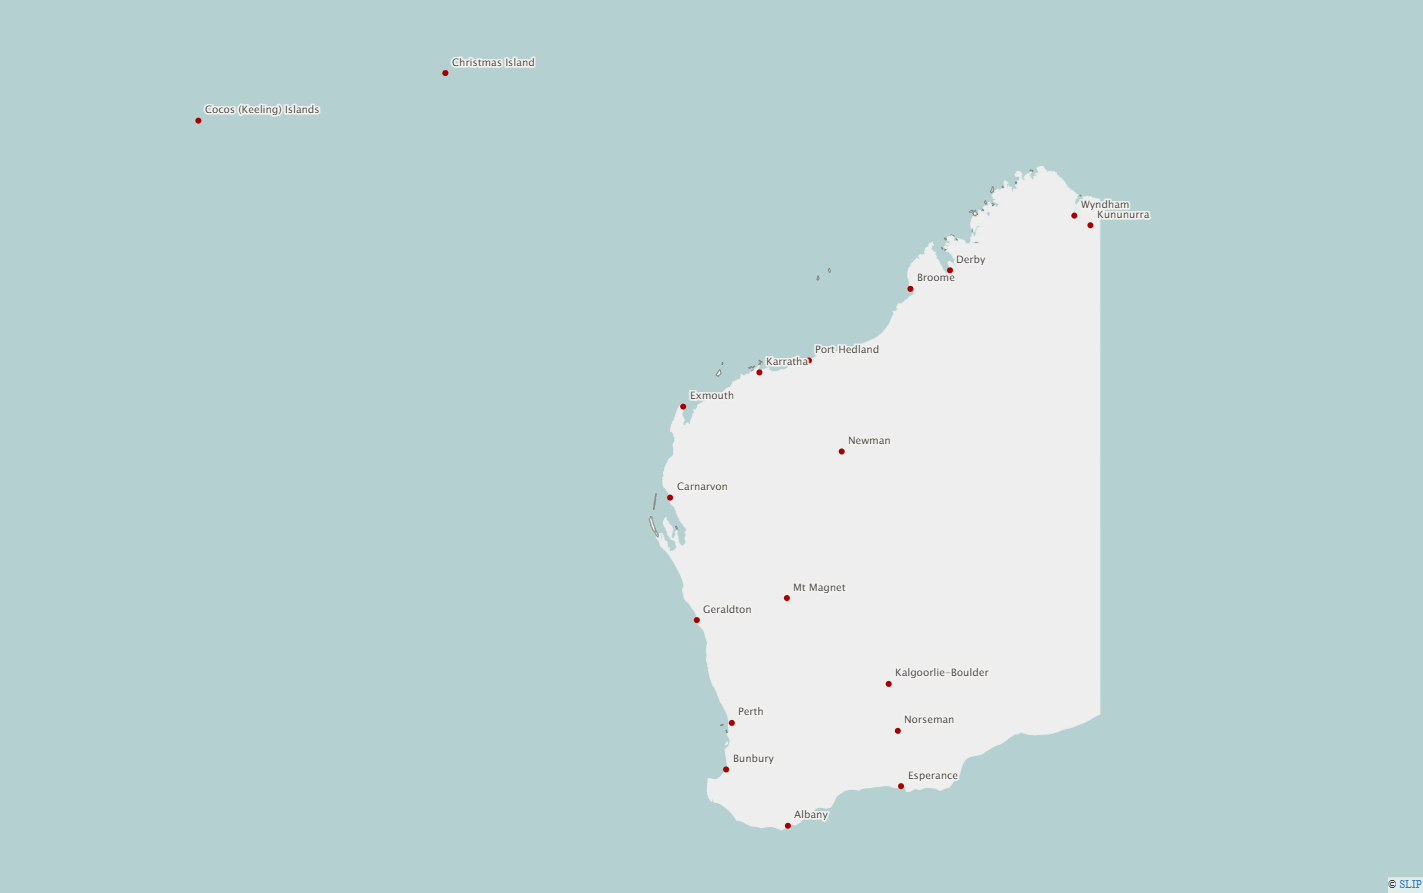
Example exported image:
Printing to PDF
The PDF print preview overlay lets you define and resize the print area; a shaded area indicates the legend’s reserved space, and grid lines can be turned on for the final export (not in the real-time preview).
To print a PDF:
- Click Map in the sidebar
- Click Print

- Adjust the map view and zoom
📄 Note
The shaded areas represent the print area and the space reserved for the legend when toggled on.
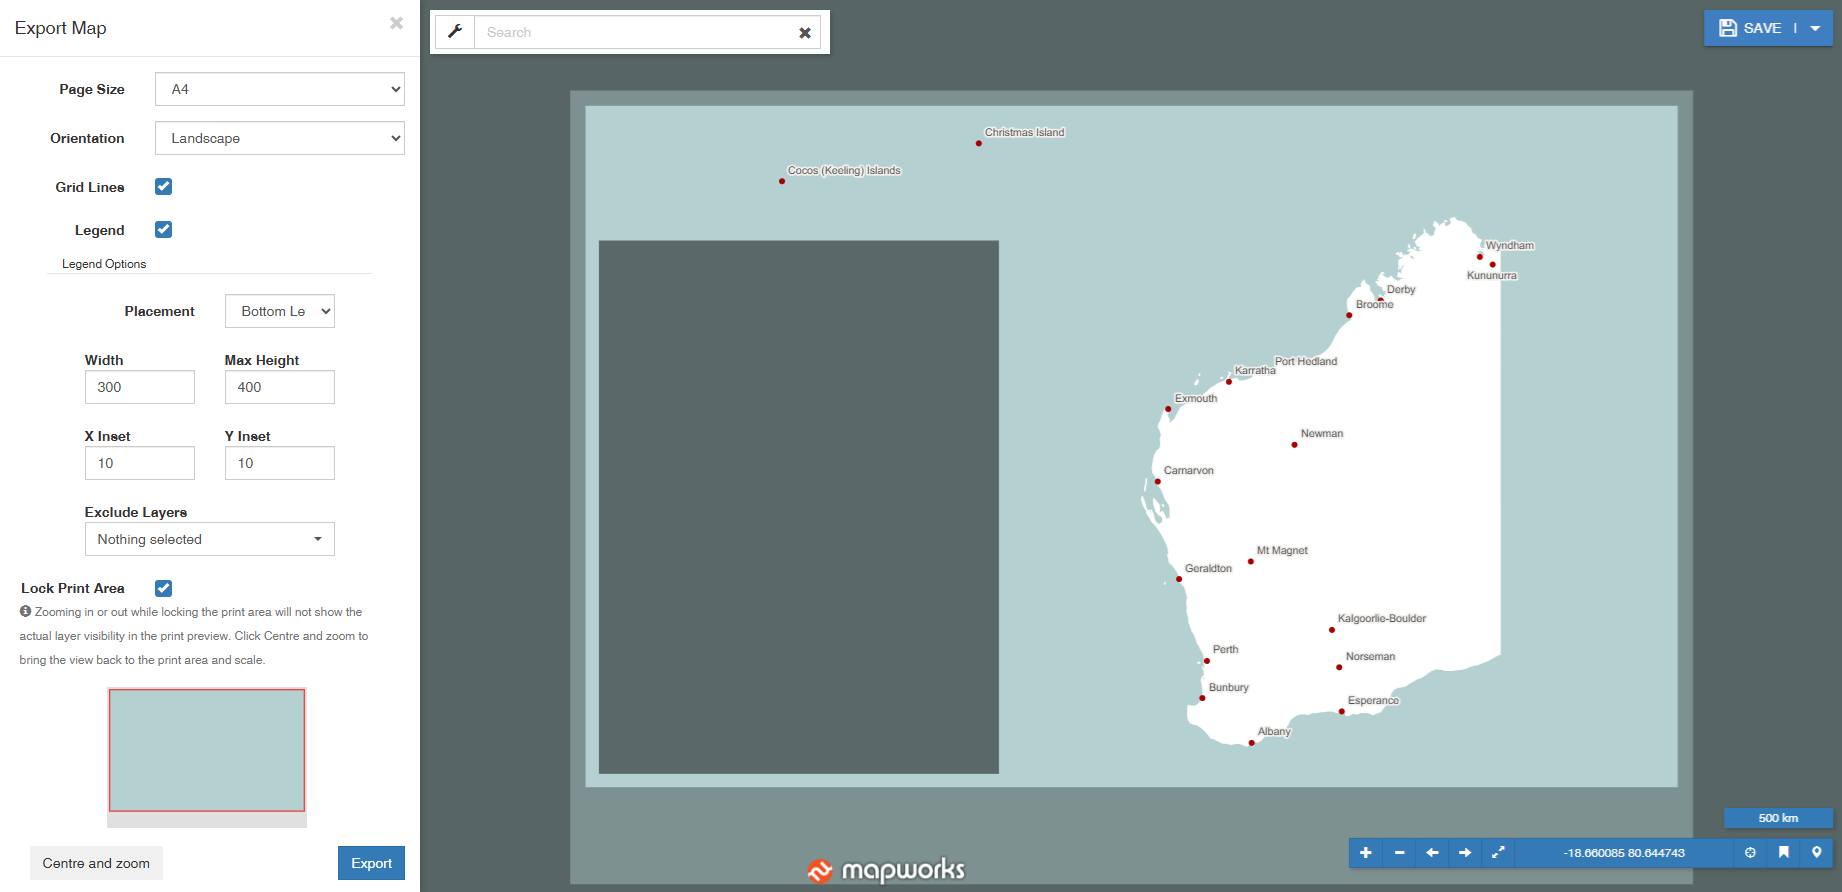
- Use the sidebar to configure Paper size, Orientation, Grid lines, and Legend.
Legend
The Legend checkbox enables options to control the legend's placement, height, width, and X/Y inset (padding). Exclude layers from the legend by selecting them from the drop-down list.
Lock Print Area
You can lock the print area to view the map at different scales while maintaining the print area. When zoomed in, the red outline represents your current map view relative to the locked print area. Click Centre and zoom to return to the locked print area and scale.
- Click Export

Exporting as Image
The current map view is captured to a PNG image. Unlike Print to PDF, you must arrange the map to the desired extent in the main window before attempting to export as image.
To Export an Image:
Arrange the map view to desired area and zoom scale.
Click Map in the sidebar.
Click Image.

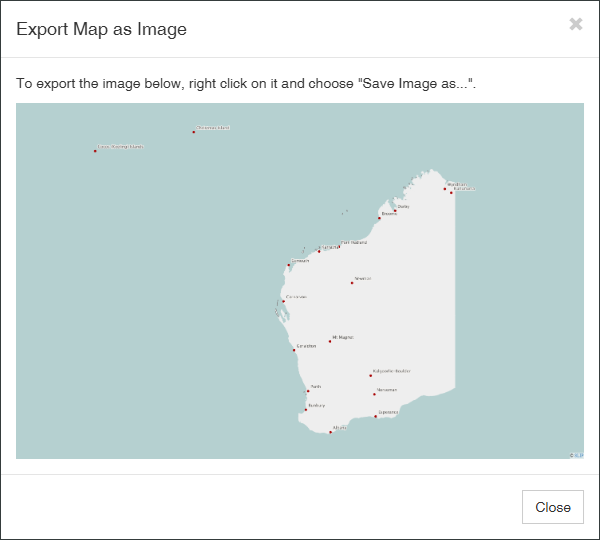
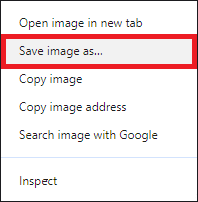
- Right-click on the image and choose Save Image As.