Appearance
Creating Groups
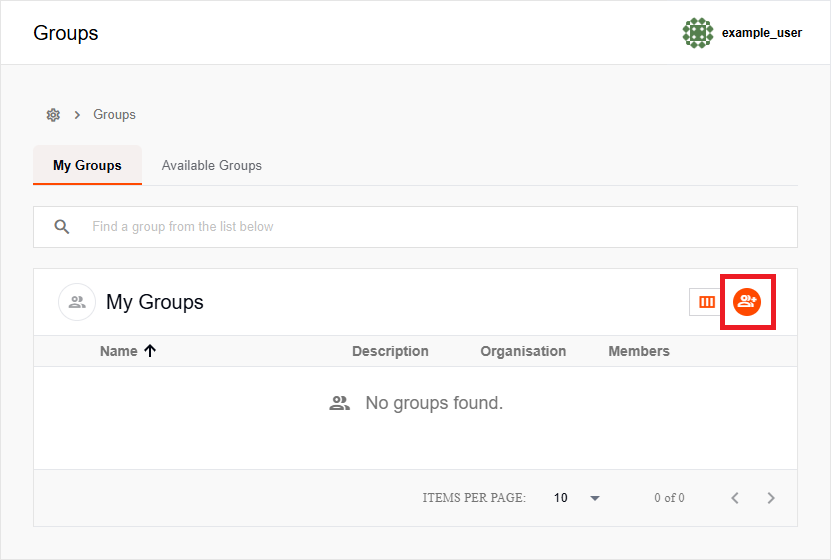
New groups are created from the Groups page in the Mgt Console. This page explains how to create a new group in Mapworks.
📄 Note
Map Designer or a higher role is required to create groups.
To create a group:
- In Mapworks UI, click Mgt Console in the bottom left

- Click Groups

- Click the orange Add New Group button on the right.
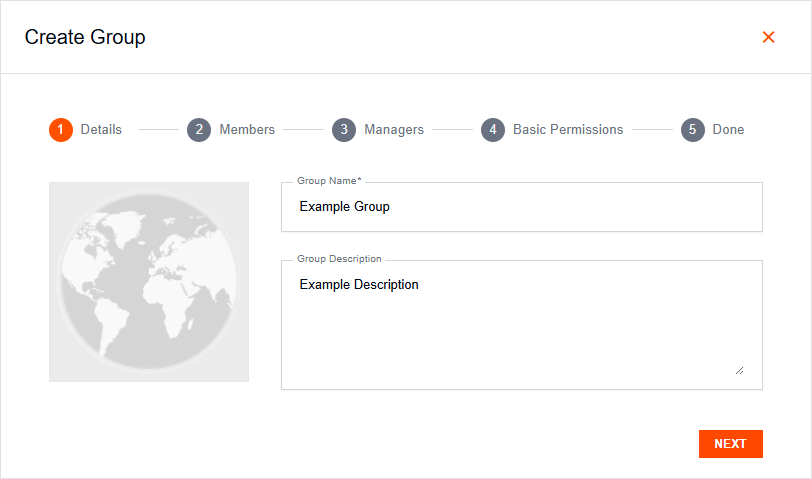
- In the Details Tab, enter a name and description for the group
📄 Note
Strictly speaking, only the group name needs to be configured; default values are adequate for the others.
- In the Members Tab, use the search bar to add any number of members
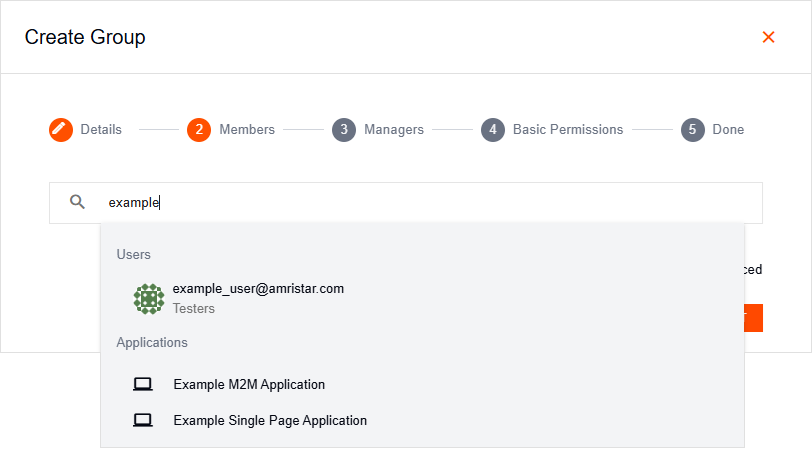
- Optionally, check the Advanced box to restrict members' access to the group to specific applications

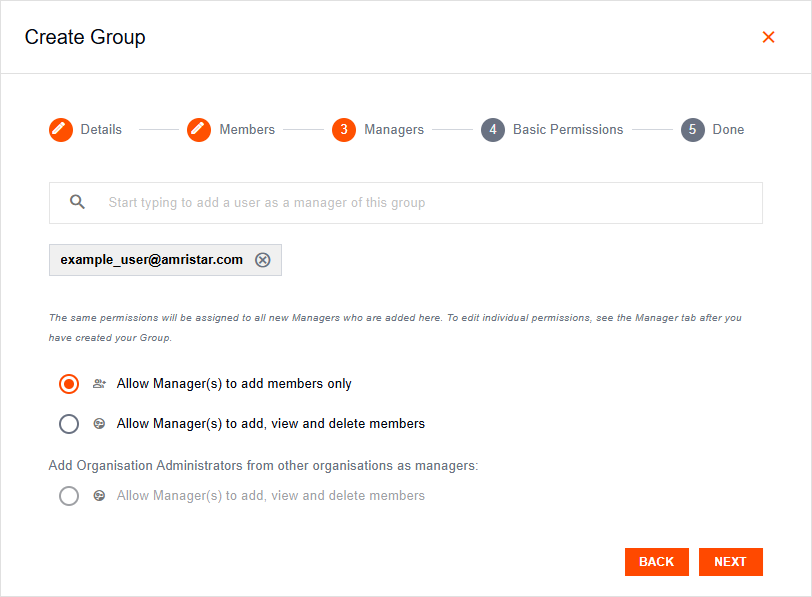
- In the Managers Tab, add managers using the search bar and set their permission level via the radio buttons
Managers can have one of two permission levels:
- Add Members – Allow Managers to add members only
- Manage Members – Allow Managers to add, view, and delete members
📄 Note
The same permissions will be assigned to all new Managers who are added here. To edit individual permissions, see the Manager Tab after you have created your Group.
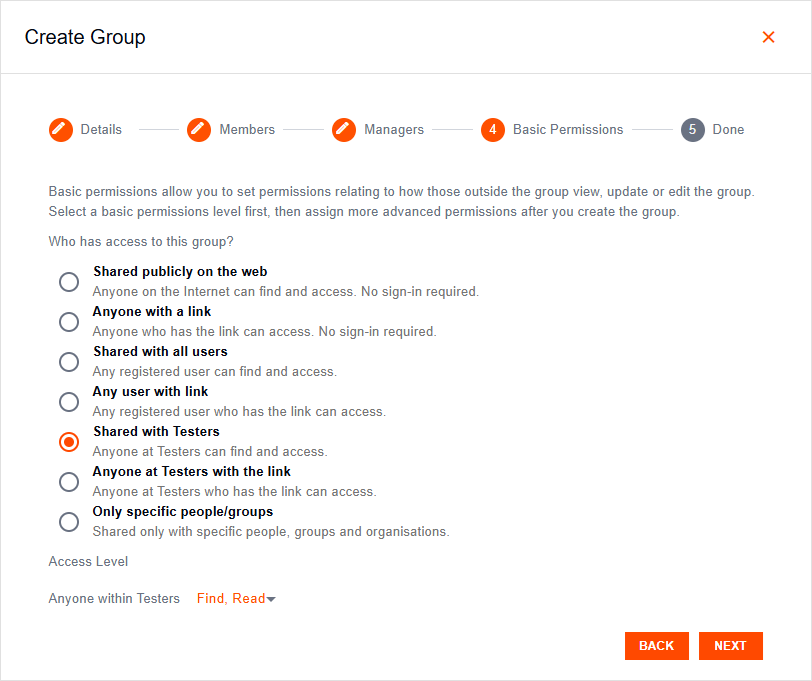
- In the Basic Permissions Tab, select a sharing rule via the radio buttons and set its default access level from the drop-down list.
📄 Note
For more specific configuration, the Additional Permissions Tab should be used.
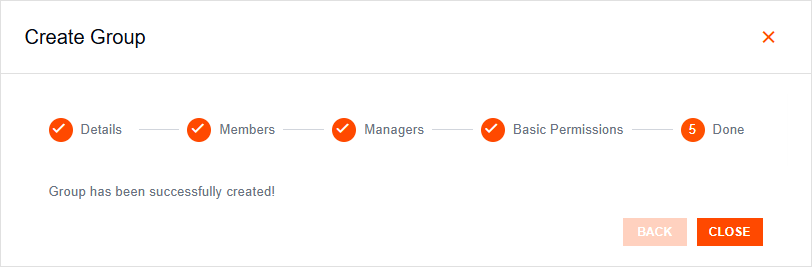
- Done — the group has successfully been created