Appearance
Applications
Overview
The Applications page is where you register and manage application clients. These clients provide the unique identifiers (Client IDs) and security credentials required for your software to interface with Mapworks identity services.
This includes:
- Single Page Applications (SPA) — browser-based apps where users sign in interactively
- Machine-to-Machine (M2M) — backend or service apps that authenticate without user interaction
Single Page Applications
Designed for JavaScript-based apps (such as React, Vue, or Angular) that perform most of their logic in the browser. These apps facilitate user sign-in and use the resulting identity tokens to communicate with backend services via APIs.
To create a Single Page Application:
- In Mapworks UI, click Mgt Console in the bottom left

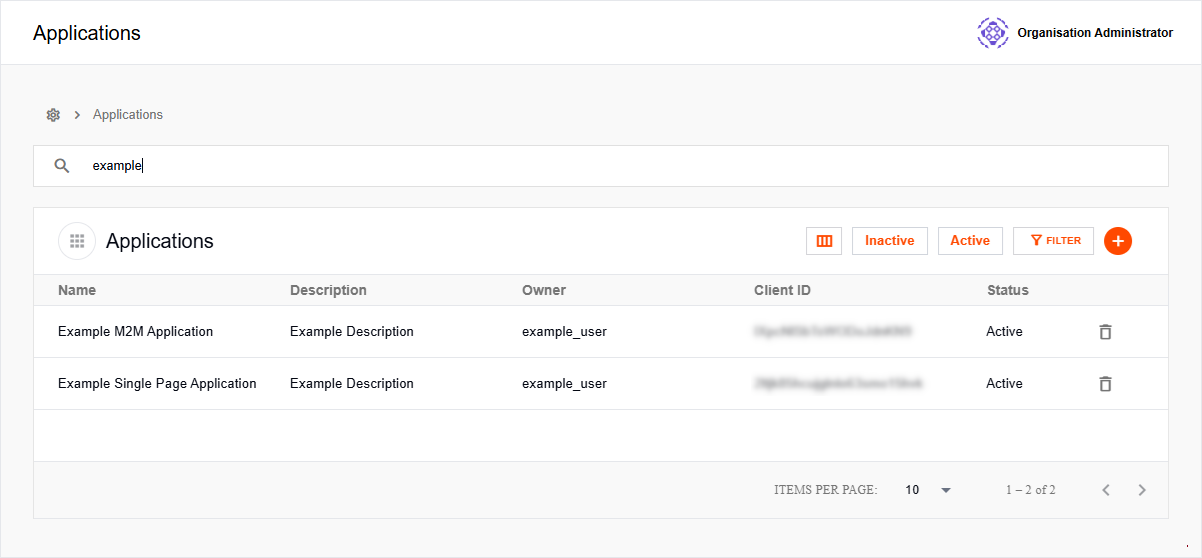
- Click Applications

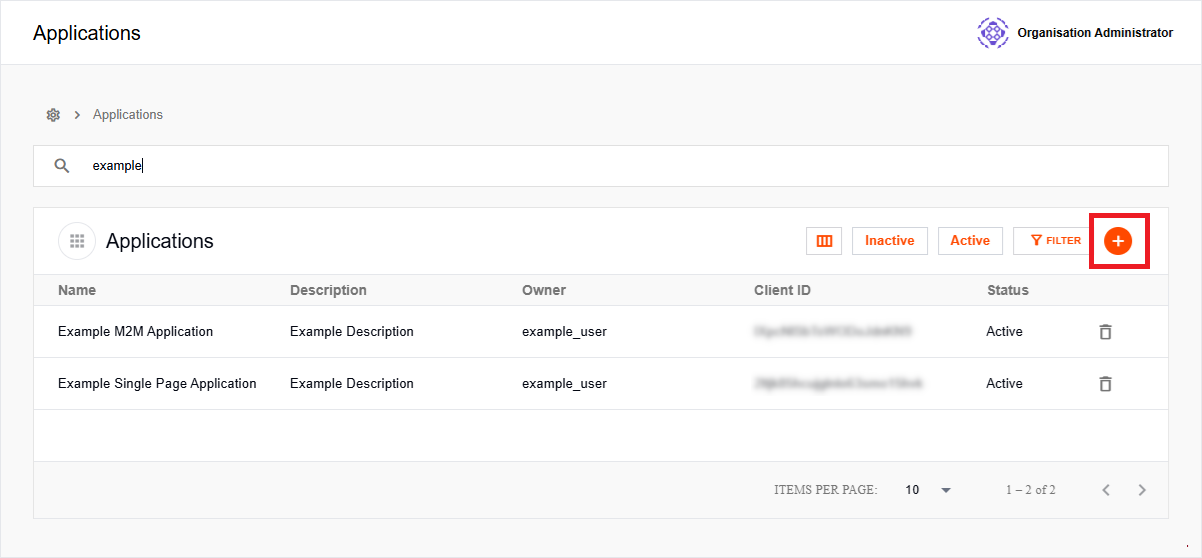
- Click the orange Add Application button on the right
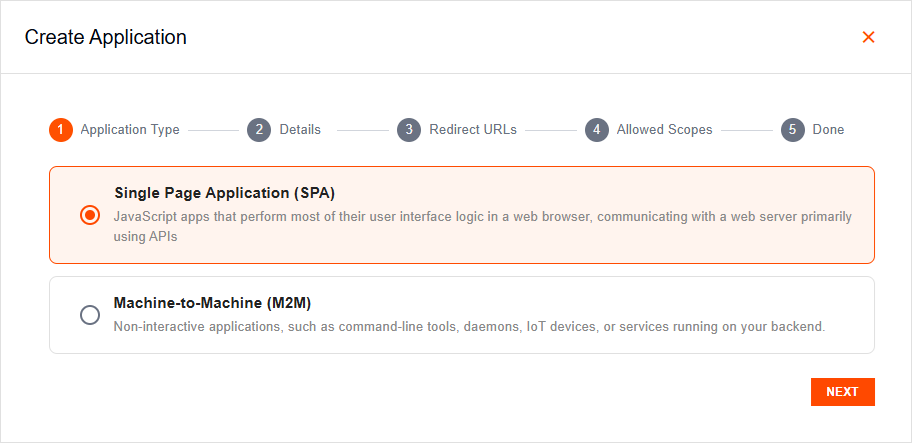
- Select Single Page Application (SPA)
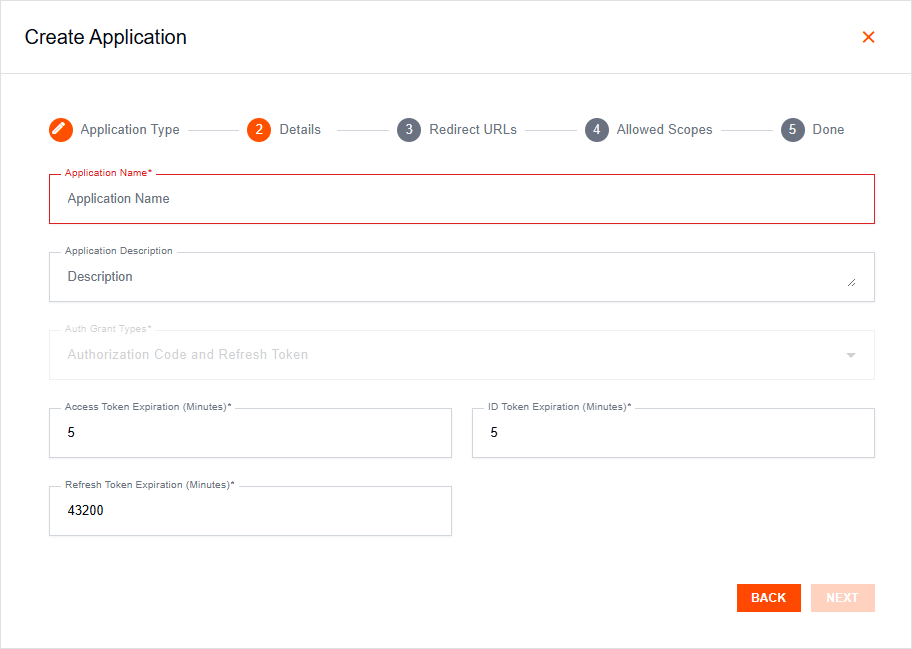
- In the Details section, enter a name.
Optionally, you can provide a description or adjust the default expiry time (in minutes) for the following token types:
- Access Token
- ID Token
- Refresh Token
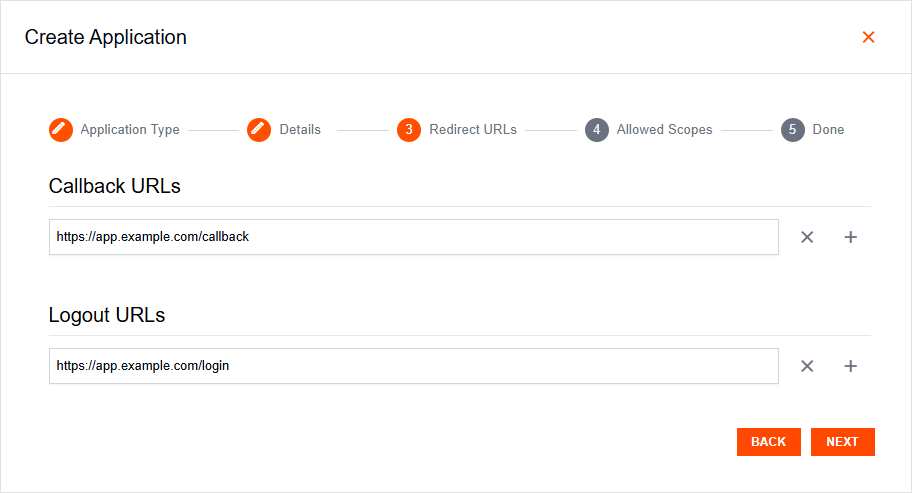
- In the Redirect URLs section, enter the URLs where users should be sent after authentication and sign-out.
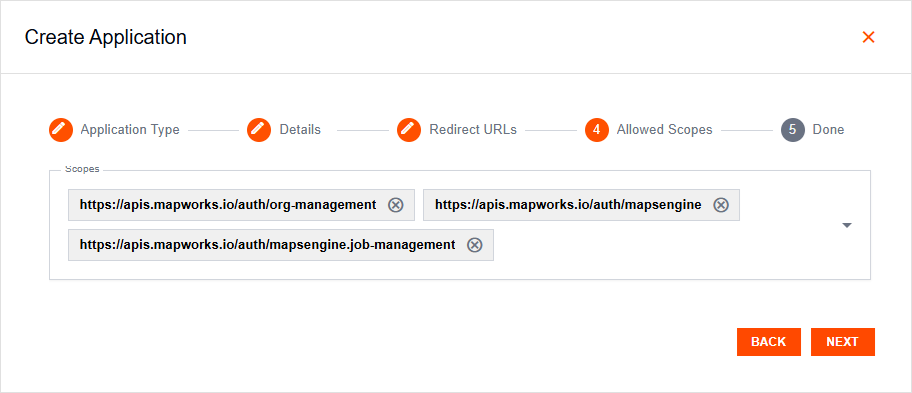
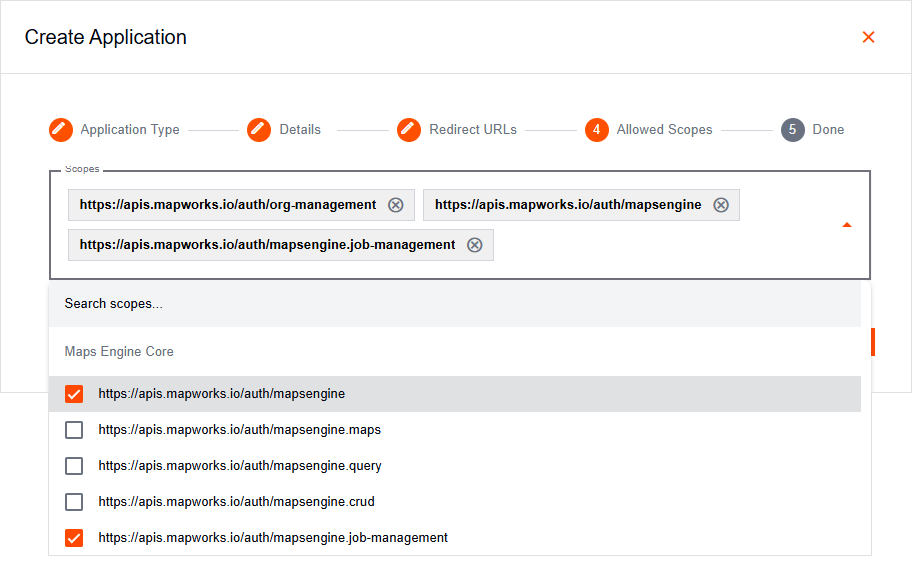
- In the Allowed Scopes section, use the drop-down menu to select the permissions the application is authorised to request.
📄 Note
This list includes native Mapworks scopes as well as any scopes configured for external resource servers. Only the scopes selected here will be available to the application during the OAuth flow.
- Once the application is created, select it from the list to view its details. In the General Tab, copy the Client ID. You will need this unique identifier to configure the authentication provider in your application.
Machine-to-Machine
Designed for non-interactive, backend applications that do not require user intervention. Common examples include command-line tools (CLIs), daemons, IoT devices, or internal services running on your server.
To create a Machine-to-Machine Application:
- In Mapworks UI, click Mgt Console in the bottom left
- Click Applications
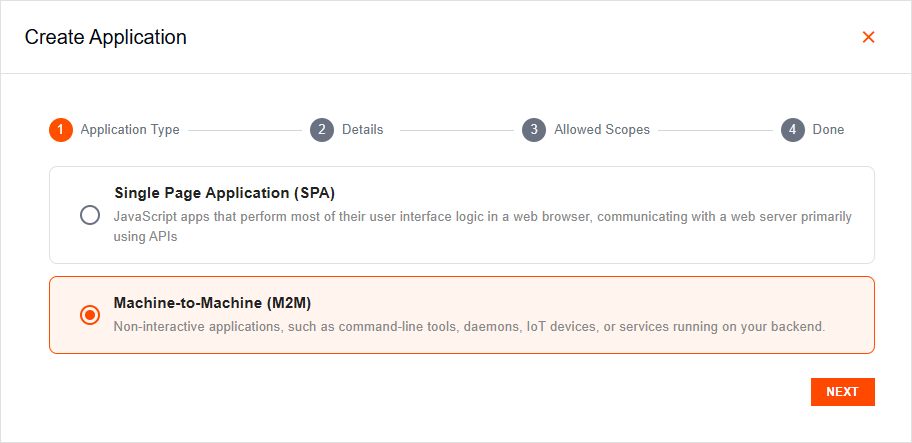
- Click the orange Add Application button on the right
- Select Machine-to-Machine (M2M)
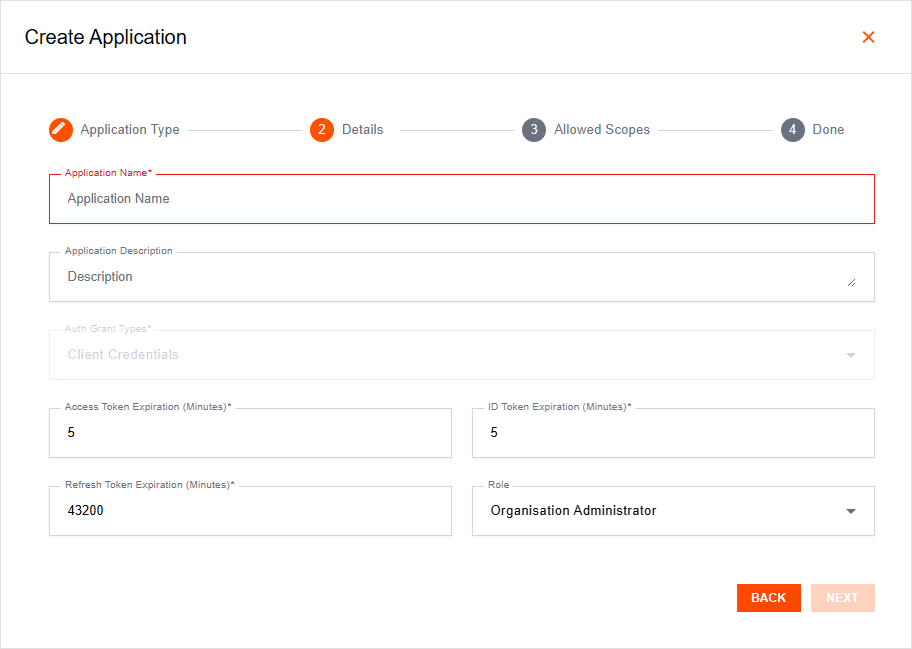
- In the Details section, enter a name.
Optionally, you can provide a description or adjust the default expiry time (in minutes) for the following token types:
- Access Token
- ID Token
- Refresh Token
You may also select the user role under which the application will operate (this defaults to Organisation Administrator).
- In the Allowed Scopes section, use the drop-down menu to select the permissions the application is authorised to request.
📄 Note
This list includes native Mapworks scopes as well as any scopes configured for external resource servers. Only the scopes selected here will be available to the application during the OAuth flow.
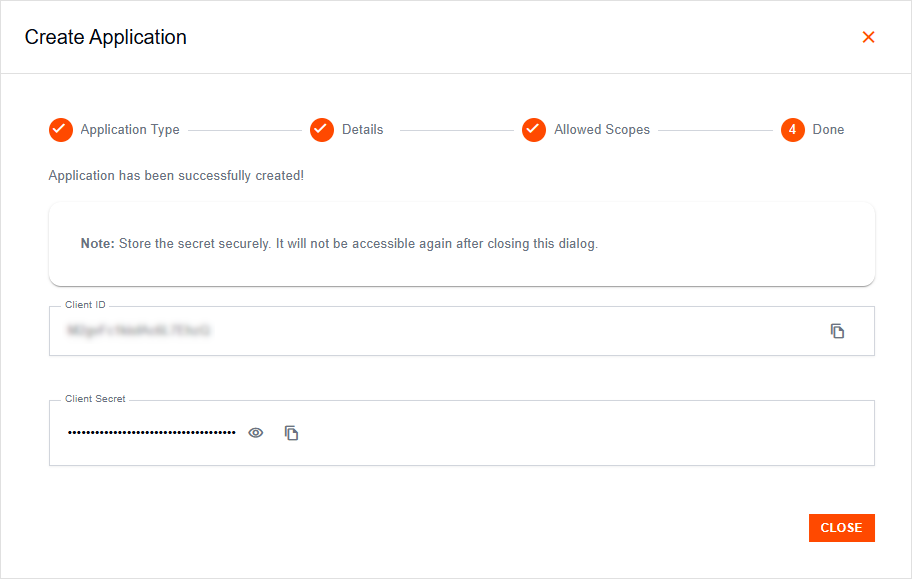
- Once the application is created, copy the Client ID and Client Secret. You will need these credentials to authenticate your application.
⚠️ Warning
The Client ID is always viewable; however, the Client Secret will not be shown again once this dialog is closed. Please store it securely.
Managing Client Secrets
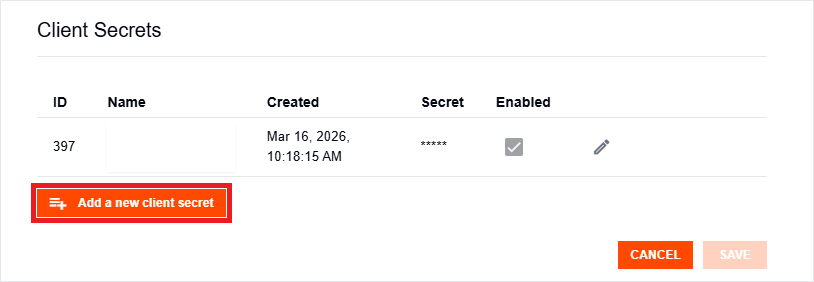
Machine-to-Machine applications support up to two concurrent Client Secrets to allow for rotation.
To manage Client Secrets, select a Machine-to-Machine application from the list in the Applications Tab, then open the General Tab.
To add a Client Secret:
Click Add.
Copy and store the Client Secret securely.
⚠️ Warning
The Client ID is always viewable; however, the Client Secret will not be shown again once this dialog is closed. Please store it securely.
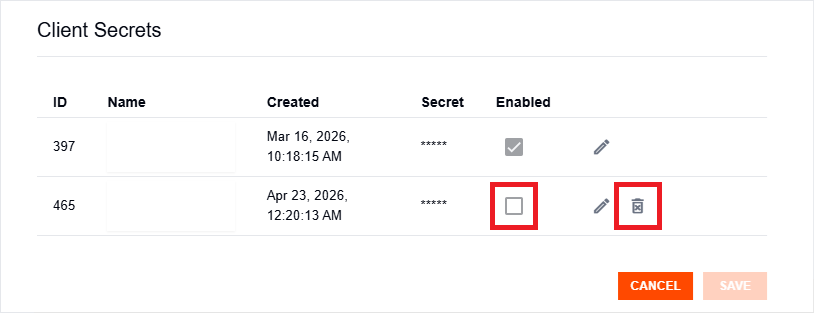
To edit a Client Secret:
- Click the Edit button beside the secret.
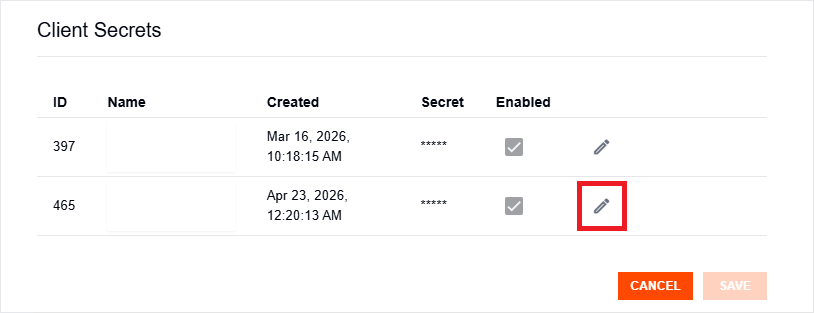
- Update the label or toggle the secret between enabled and disabled.
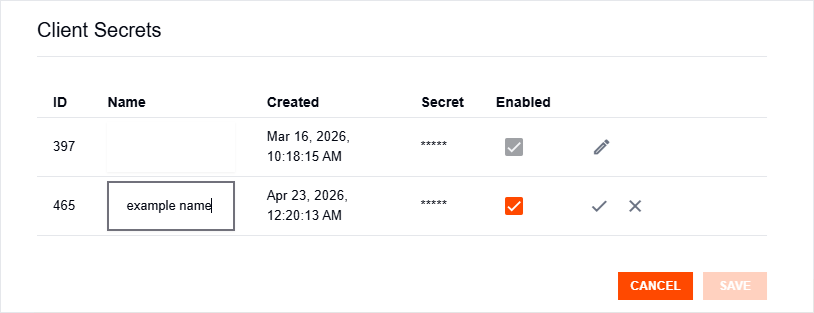
- Click the tick icon to save, or the cross icon to discard your changes.
To delete a Client Secret:
- Click the Edit button beside the secret.
- Disable the secret and click the tick icon to save.
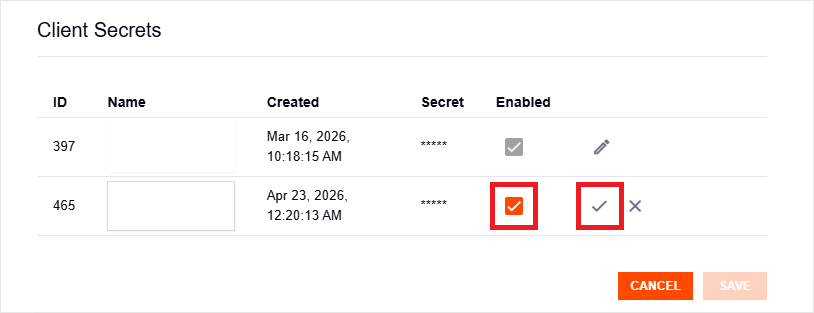
- Click the Delete button beside the secret.